
Introduction
3D printing is a technology that continues to fascinate and amaze.
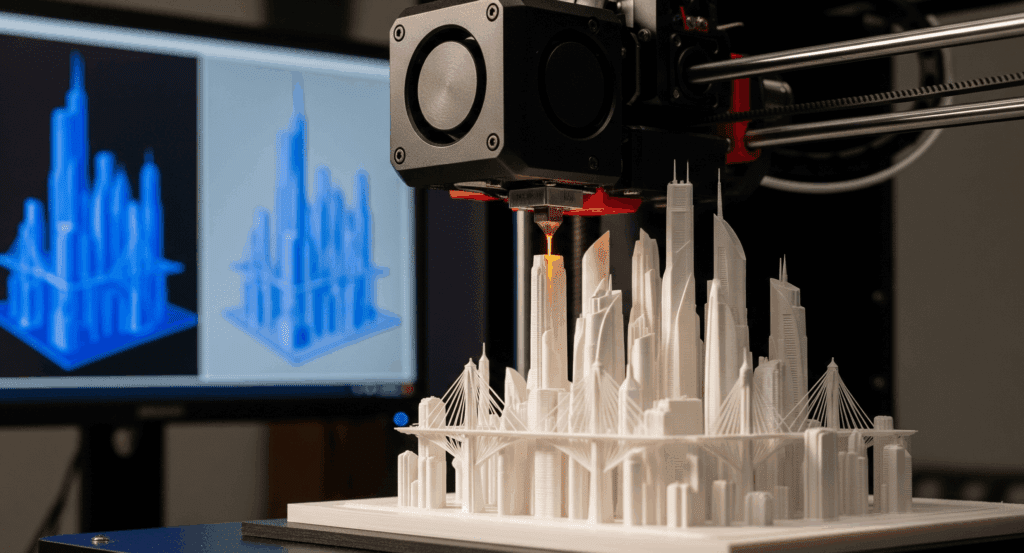
To an outside observer, it can almost seem like magic: an object takes shape before your eyes, layer by layer, starting from a simple digital file.
But how does this process actually work? How is a 3D-printed object born?
Behind the final result — whether it’s a decorative vase, a home accessory, or an industrial prototype — lies a journey made up of several stages, where technology intertwines with creativity and digital craftsmanship.
Let’s explore them together.
1. The Idea Takes Shape: Digital Design
Every 3D-printed object begins with an idea.
This idea is then transformed into a three-dimensional digital model using CAD design software or 3D modeling programs.
In this phase, the designer or digital craftsman:
defines the exact dimensions,
sets the proportions,
and adds any aesthetic or functional details.
For example, a decorative vase might be designed with thin walls and flowing lines, while a technical support requires precise calculations of strength and stability.
One of the great advantages of 3D printing is the freedom to experiment: to create complex geometries, intricate patterns, or organic shapes that would be impossible — or too expensive — to produce with traditional methods.
The design phase is therefore the true creative moment, where ideas take shape without limits to the imagination.
2. File Preparation: From Model to G-code
Once the digital model is complete, it cannot be sent directly to the printer.
An intermediate step is needed: file preparation using a slicer.
A slicer is a software that “translates” the model into a language the 3D printer can understand — the G-code.
The term comes from the fact that the program “slices” the model into hundreds or even thousands of horizontal layers.
In this phase, several parameters are set — each one directly affecting the object’s quality and strength:
Layer height → thinner layers for better detail, thicker ones for faster printing times;
Wall thickness → to achieve greater strength or lightness;
Infill density → from 15% to 100%, depending on the final use;
Printing and extrusion temperatures → varying according to the chosen material;
Print speed → slower for precision, faster for efficiency but with less refinement.
This is an almost alchemical stage: the digital designer balances technology and creativity to find the perfect compromise between aesthetics, functionality, and sustainability.
3. The Additive Magic: Printing Layer by Layer
Once the G-code is ready, the 3D printer can finally come to life.
Here lies the heart of the process: the chosen material (PLA, PETG, TPU, ASA, etc.) is heated and extruded through a nozzle that deposits the filament layer by layer, precisely reconstructing the digital model.
Each layer fuses with the previous one, creating a solid and continuous structure.
Depending on the complexity, a print can take:
just a few minutes for small, simple objects,
several hours for medium-sized vases or decorative pieces,
or even several days for large or complex models.
The difference compared to traditional manufacturing is clear:
the process doesn’t start from a block that needs to be carved or cut,
there’s virtually no material waste,
and the amount of material used is exactly what’s needed.
This approach, known as additive manufacturing, marks a major step forward in terms of efficiency and sustainability.
4. Finishing: The Touch of the Digital Artisan
Once the printing is complete, the object is already functional, but it often undergoes a finishing phase that adds true artisanal value to the piece.
This stage may include:
Removing supports – temporary structures used during printing;
Sanding and smoothing – to achieve even, polished surfaces;
Applying primers or paints – to create special visual effects such as matte, metallic, or satin finishes;
Manual customizations – like hand-painted details or combinations with other materials such as wood, metal, or resin.
This final stage is what truly distinguishes digital craftsmanship from mere industrial production: every object carries subtle variations, unique touches, and details that make it one of a kind.
5. From the Workshop to Everyday Life
The finished object is now ready to be used or displayed.
It might be a home accessory — a vase, a decorative panel, or a wall clock — but it can also be a functional item for everyday life, or even a technical piece designed for professional use.
Every 3D-printed creation carries a deeper meaning:
it is the result of a creative journey,
it bridges technological innovation and artisanal tradition,
it minimizes waste and embraces sustainability.
In other words, it’s never just a plastic object — it’s a story that travels from the digital world into the real one.
Conclusion
The journey from a digital model to a 3D-printed object is made of technology, creativity, and craftsmanship.
From design to finishing, every stage plays a vital role in transforming an idea into a tangible, unique, and personalized product.
Whether it’s a decorative vase, a home accessory, or an industrial prototype, 3D printing shows us that it’s possible to imagine a future where innovation, craftsmanship, and sustainability coexist in perfect harmony.
So next time you hold a 3D-printed object in your hands, you’ll know that behind that design lies a fascinating process — a journey from the digital to the real.